Installing Oracle Linux 8.3
How to install Oracle Linux 8.3 and prepare it as a database lab environment


If you're trying to spin up a database with new software, one thing that is worth noting is that Oracle has simplified the way to download and install it's software.
Here we are going to take the most straight-up way to get a 19c database with a container and a pluggable database, ready to do whatever tests we want.
You will need:
- A Oracle Account
- Knowledge on virtualizing operating systems (Oracle Virtualbox is going to be used)
The link to Oracle Linux page is: https://www.oracle.com/linux/
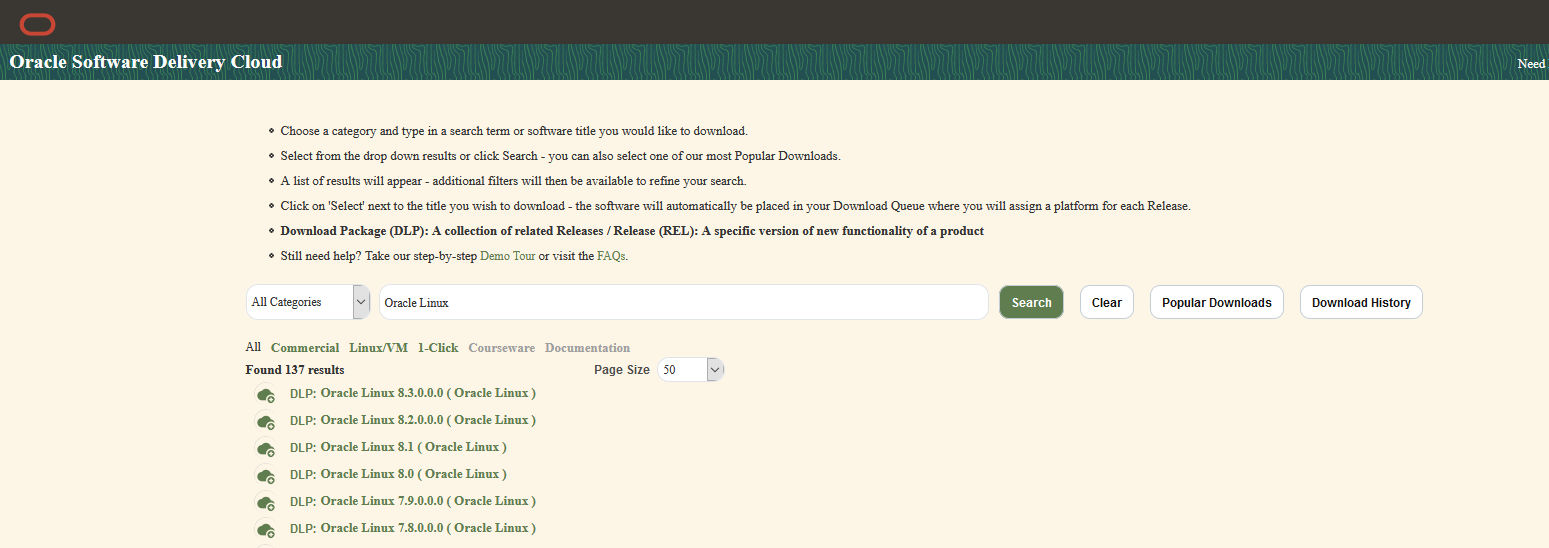
Select "Oracle Linux 8.3", then hit "continue".
Then select your platform (x86) and hit continue. (Note that Oracle Database software does not run over ARM)
Then, accept the license.
Now we will see a list of .iso. We only need one:
"V1004253-01.iso Oracle Linux Release 8 Update 3 for x86 (64 bit), 8.6 GB"
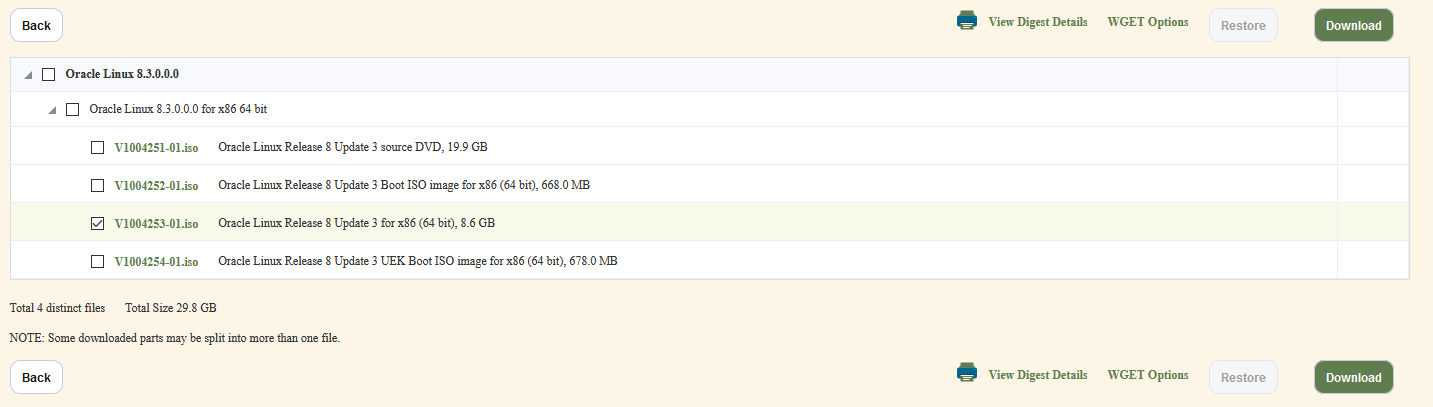
You don't need the source code, and the boot iso only boots the machine to then request you a URL to download the software to install the operating system. So we can forget about those options.
Set up a new virtual machine using the V1004253-01.iso disk.
The recommended is to use a VDI disk, with dynamic allocation. You can create it with a size of 20GB, this means 20GB is going to be the maximum size for the disk.
As I have plenty of room. I'm allocating a maximum size of 48GB, 4 cores and 10GB of RAM to the virtual machime (so the installation is faster).
When starting the new virtual machine, you will asked for a bootable disk, here you select the V1004253-01.iso.
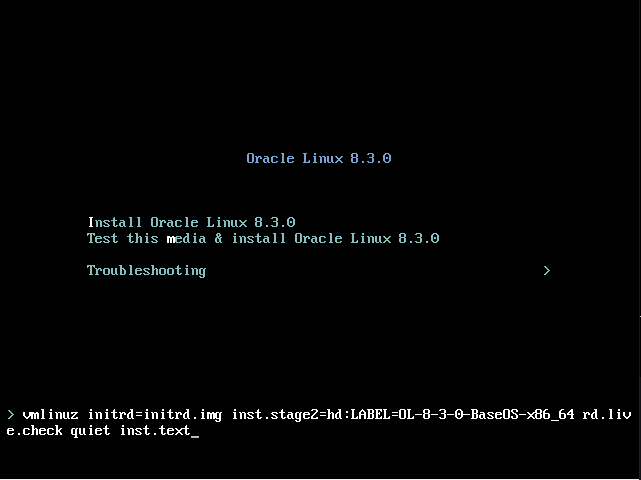
Operating System Install
When the start screen is shown, press TAB and write "inst.text", this will set the installation in text mode. Press "Enter".
To get a lightweight machine, we are going to install the server without GUI. Without the GUI we are installing about one thousand software packages less, accomplishing having an up-to-date database test environment while keeping the virtual machine as light as possible.
A check is done, we let it finish:
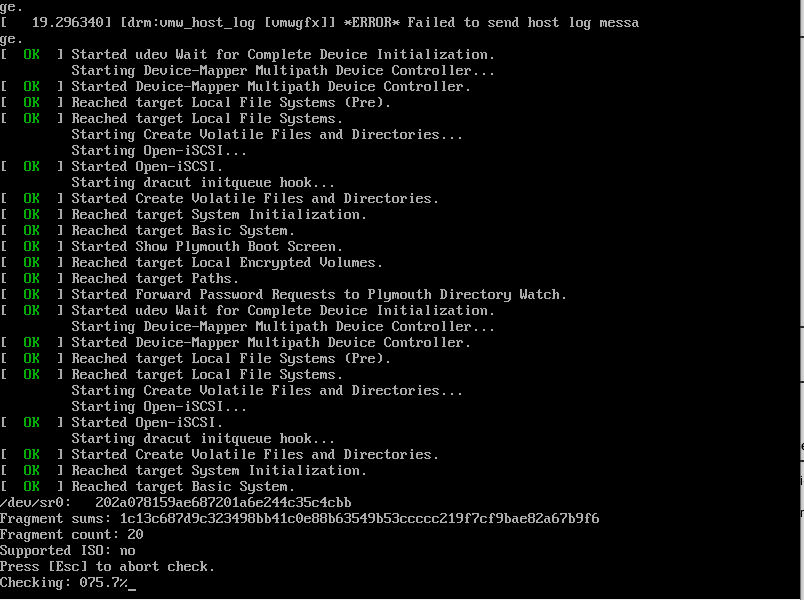
This is the text interface of the installer:
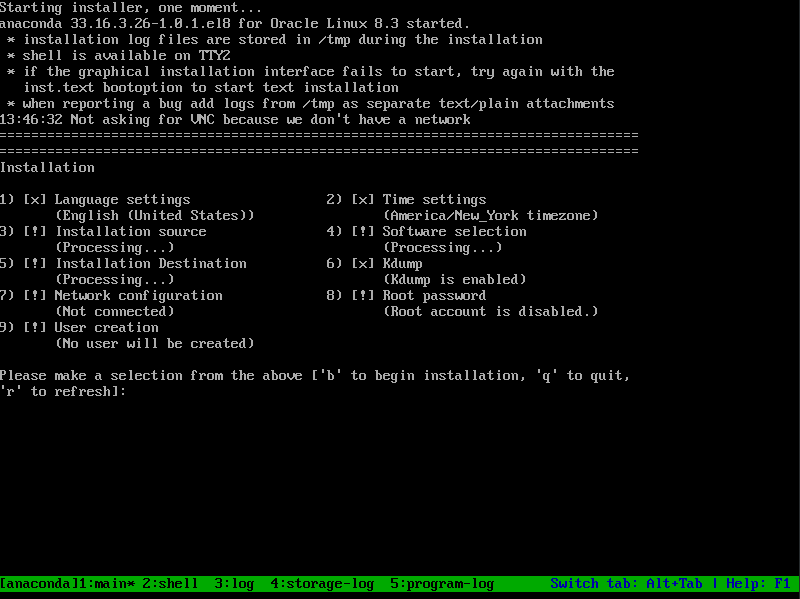
We need to attend all sections marked by "!".
The step 1 is to install "English (United States)" as language. This is the default and we are not going to not modify it.
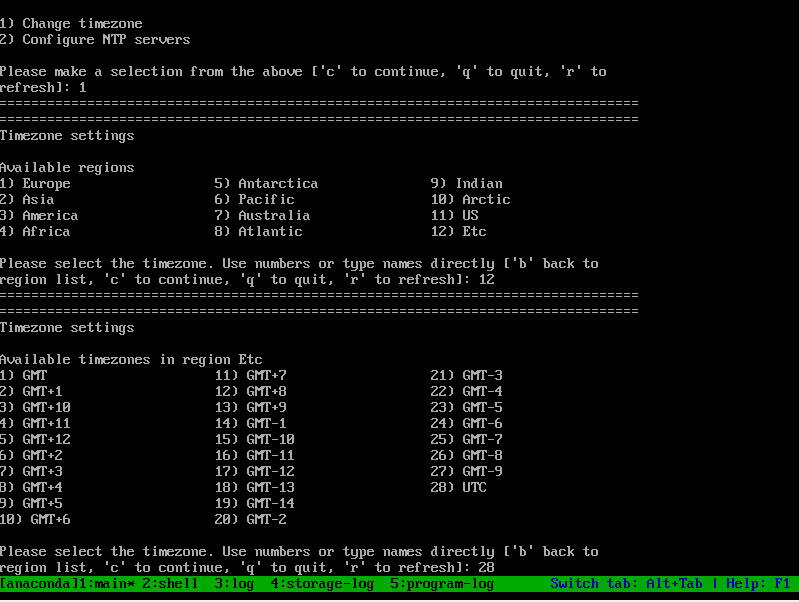
We select the option "2" and configure it as UTC:
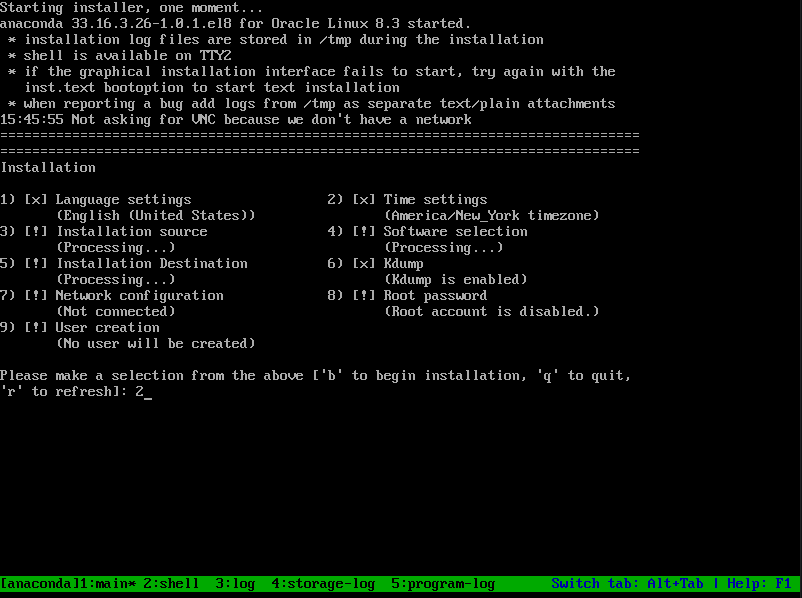
Once we are in the option "2", we select "change timezone" (option 1), then "Etc" (option 12) and then we select "UTC" (option 28):
The option 3 "Installation source" is already marked as done "[x]", so no action is required there.
Our next step is the option 4: "Software selection".
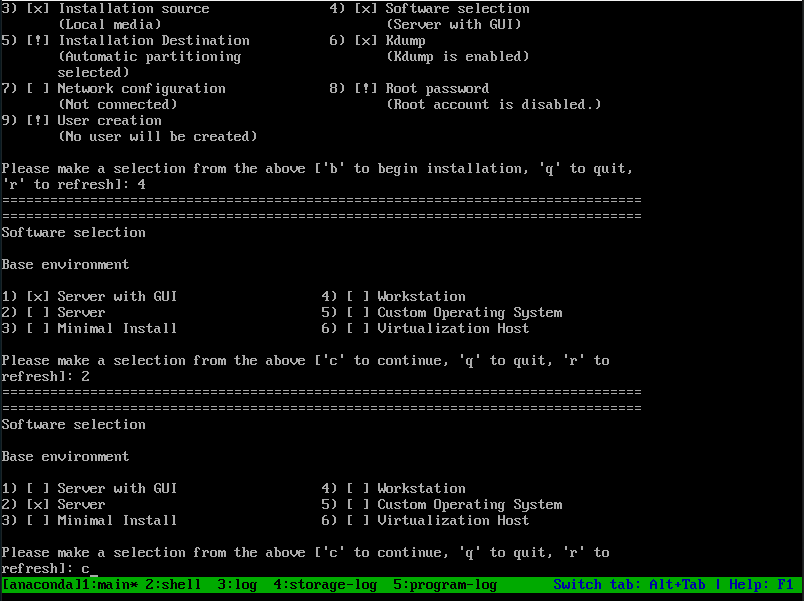
Here, we select "Server", we are not installing the GUI. Once the correct selection is shown, we press "c" to continue.
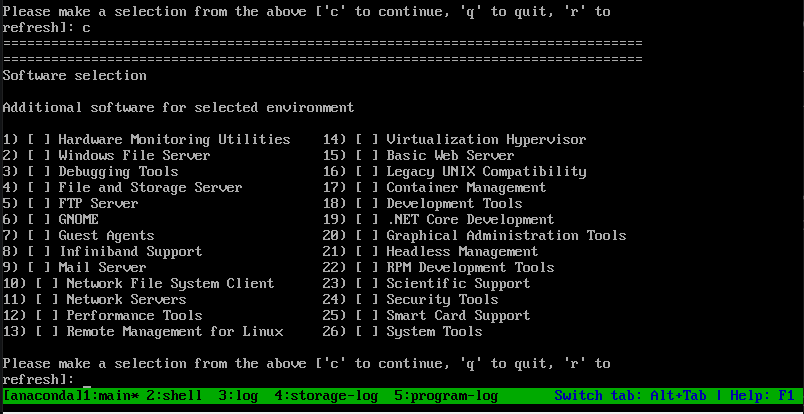
No further software is going to be installed.
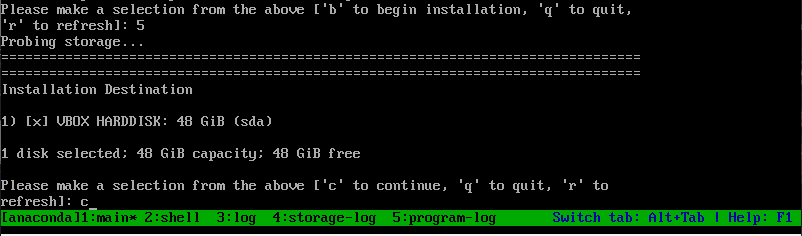
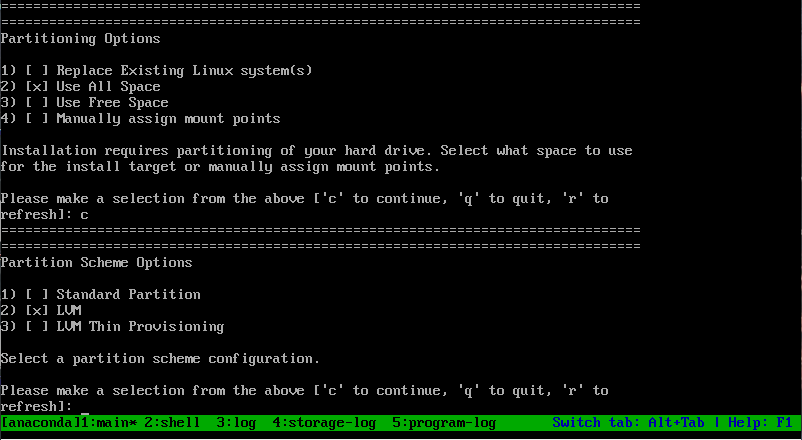
The option 5 is "Installation destination", as marked with "[!]", action is required. The "Automatic partitioning" is selected by default, so we just need to enter and confirm the options choosen by default typing "c".
Then select "Use all space" and then "LVM".
Option 6 is to enable "Kdump", it is enabled by default and we are not going to modify it.
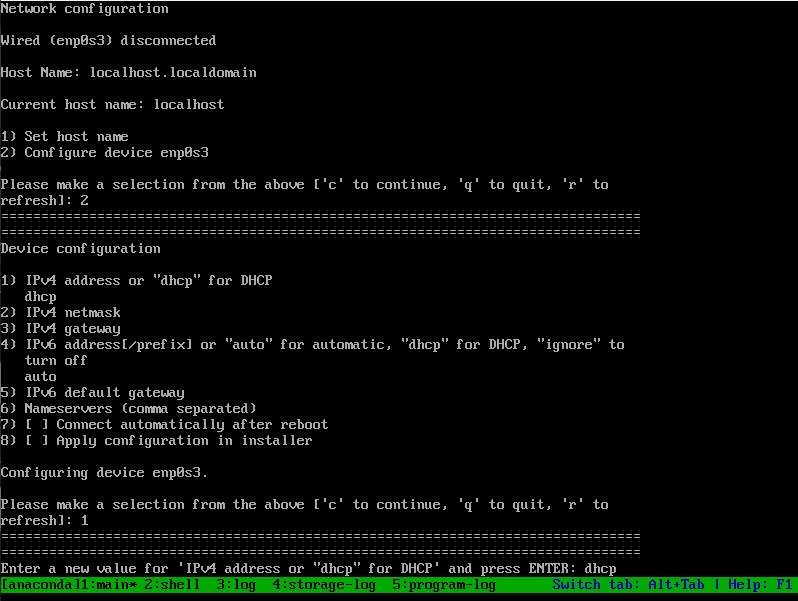
Option 7 is "Network configuration".
Then select "Configure device" (option 2), and on the next menu, type "dhcp".
Then select the option 7, so the network interface connects automatically after the reboot.
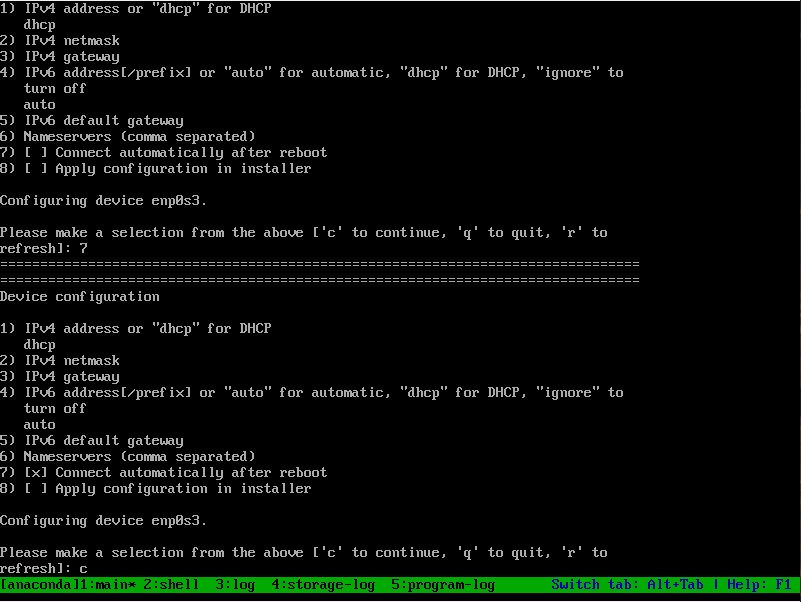
Confirm the options chosen typing "c" in the next prompt.
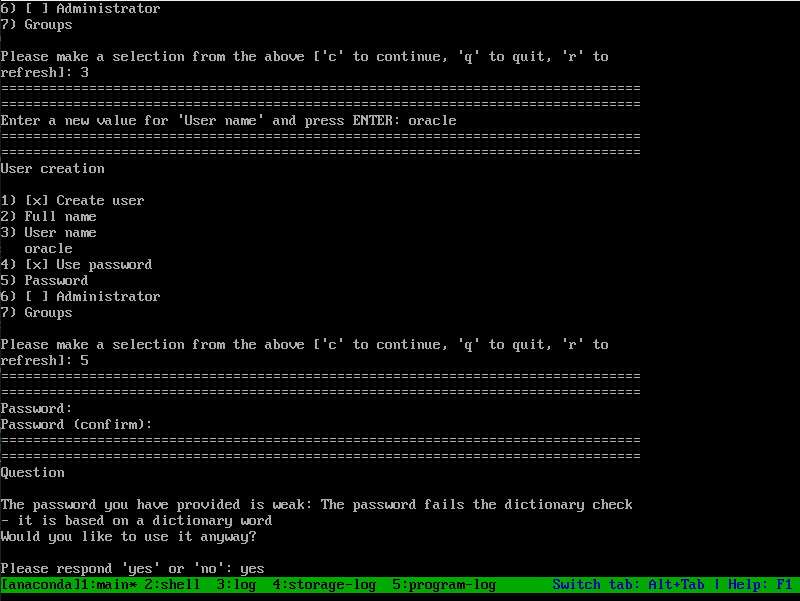
The next option is "Root password", access the option 8.
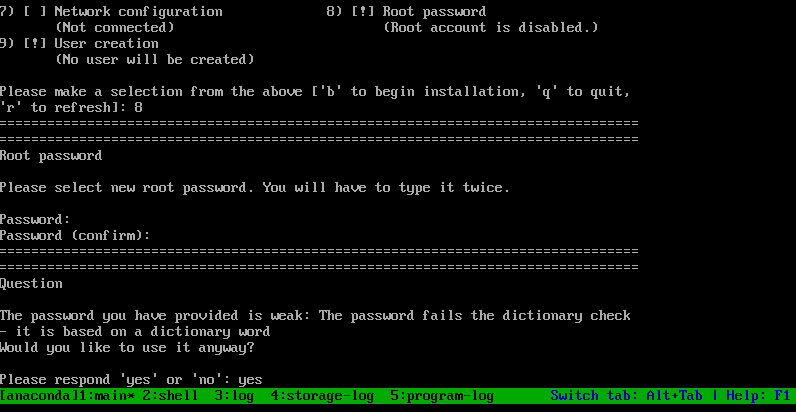
"oracle" is going to be the password to configure accross the entire machine. So confirm that you want to use it anyways.
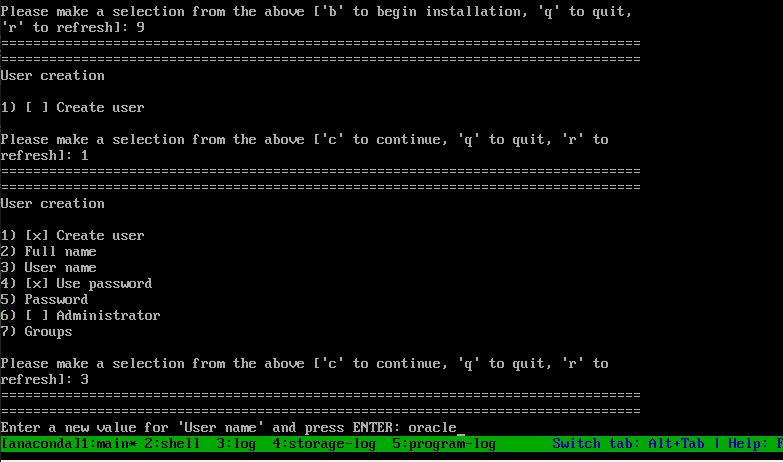
The last option is "User creation" (option 9), choose it and create the user "oracle" with password "oracle".
Enter in the suboption 1, and then setup the "User name" (option 3) as "oracle".
Then choose the option 5, to setup the password as "oracle".
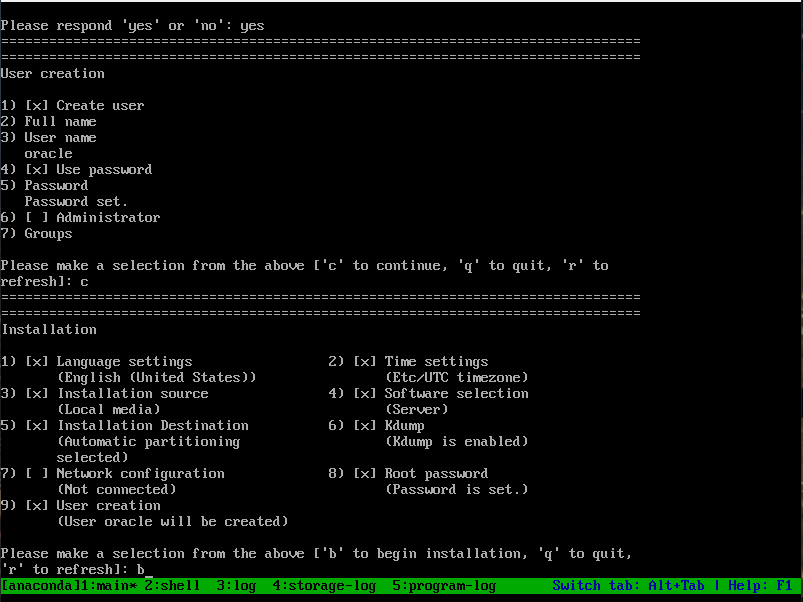
At this point, we can type "b" to begin the installation:
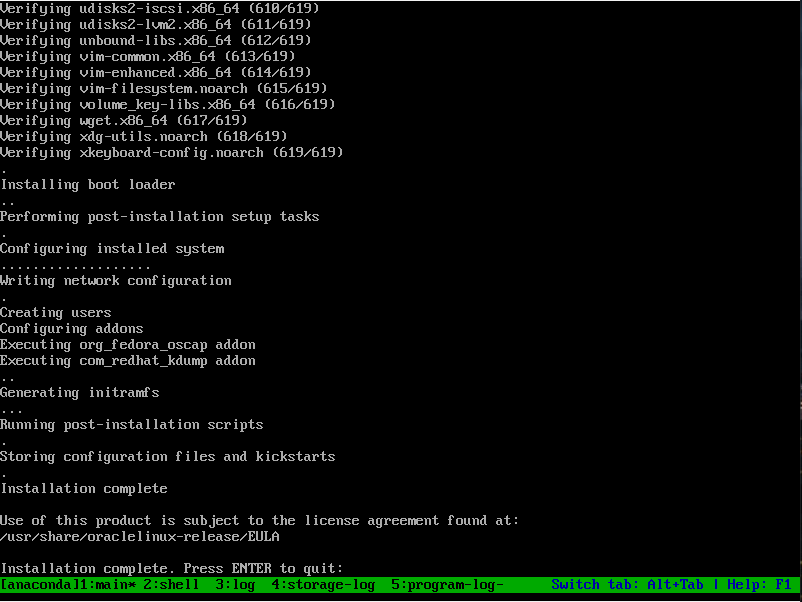
Once the installation is completed, we are asked to press ENTER to exit the installation.
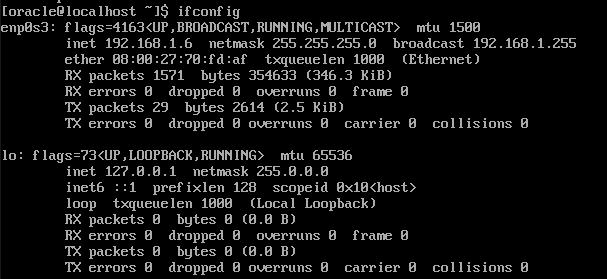
Once the virtual machine has restarted, access with the root user, and check if the network configuration is working correctly with the command "ifconfig":
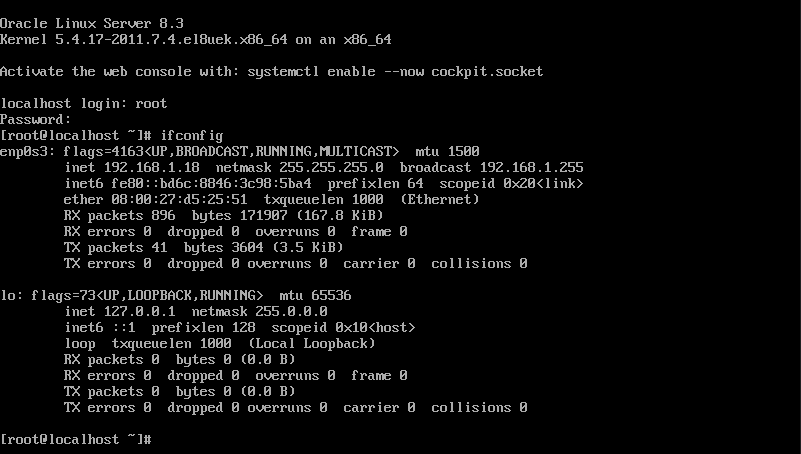
As we can see, the IP 192.168.1.8 has been assigned, by the DHCP server on our local network, to our machine.
Locale setup
While you may want the language to be in English, you may be using a keyboard using another key mapping/language. In this case you can change the keyboard mapping with the following command. You can check which parameter you do need with the locale list at:
sudo localectl list-keymapsFollowing example is to set it in Spanish:
sudo localectl set-keymap esNetwork configuration (in case automatic DHCP has been not configured)
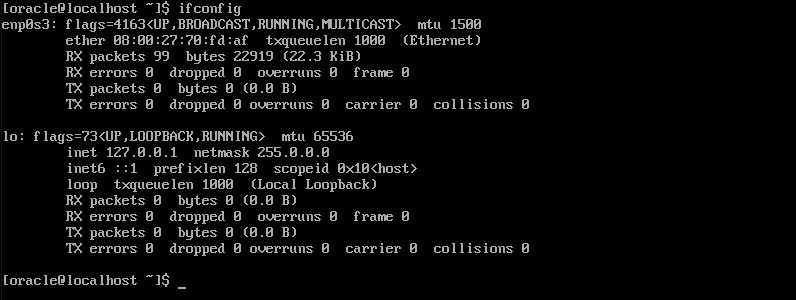
While we have the machine configured to acquire an IP automatically from the DCHP server on our local network, you may have a machine that is not configured in the same way. For example, this machine does not have an IP assigned as it as it does not request an IP on startup:
If you're like me and you usually work from a SSH client, it's a bit uncomfortable having to launch "dhclient" every time you start the VM. So it can be automated.
In this case, launch the dhcp client command first, so we can connect to it using a SSH Client:
sudo dhclient
To check the IP address that we have:
We access the SSH client and connect to the virtual machine:
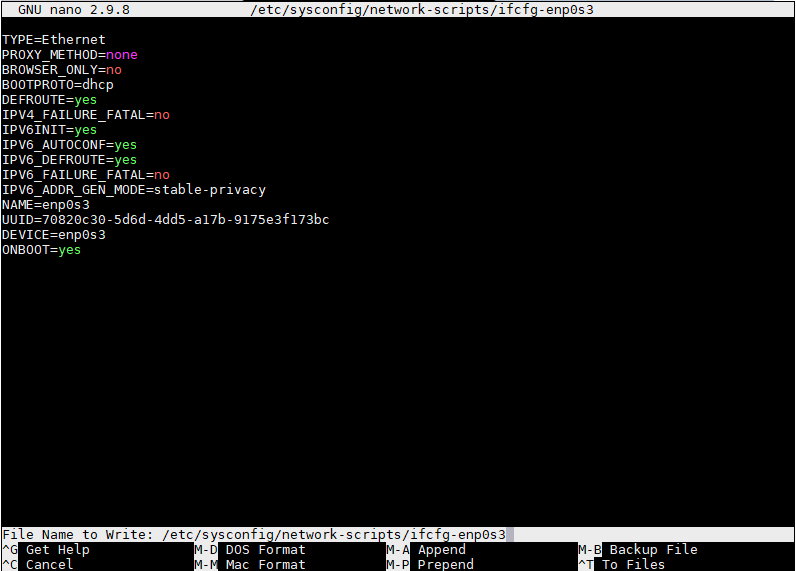
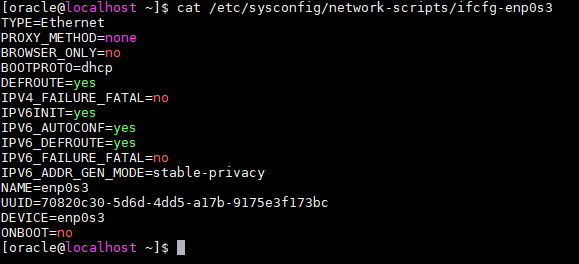
ssh oracle@192.168.1.18The name of the network interface is the last part of the filename, in this case the network interface is "enp0s3", so the file to be modified is:
/etc/sysconfig/network-scripts/ifcfg-enp0s3
Then set the "ONBOOT" parameter to "yes"
Once the file is saved (Ctrl+O), the operating system is going to get a IP address automatically on the startup.