Installing Oracle Database 21c


In this tutorial, you are going to learn how to install a standalone Oracle Database version 21c.
To download the Oracle database 21c software, go to https://www.oracle.com/database/technologies/oracle-database-software-downloads.html and copy the download link for Oracle Database.
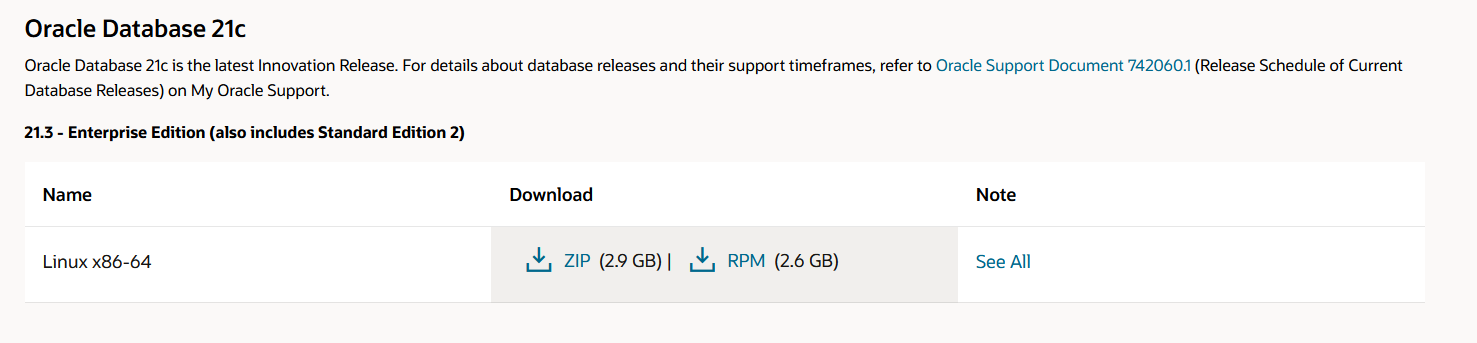
Select the "RPM" download.
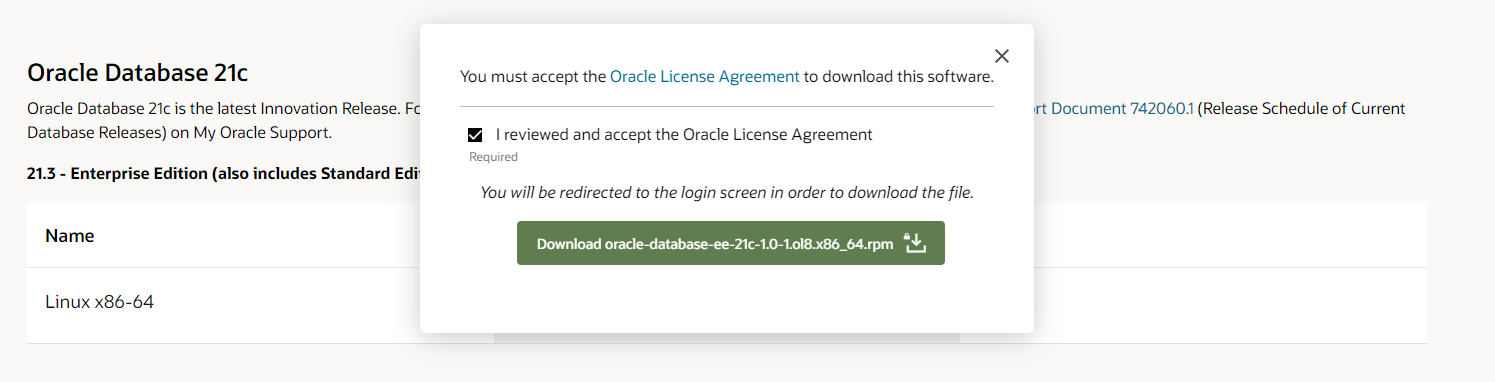
The next step is to login into Oracle website, and then, the file download will start. Then, on your web browser, copy the download link. Consider pausing the download, as if you start the download on the virtual machine once it ends on the browser, an error could be shown.
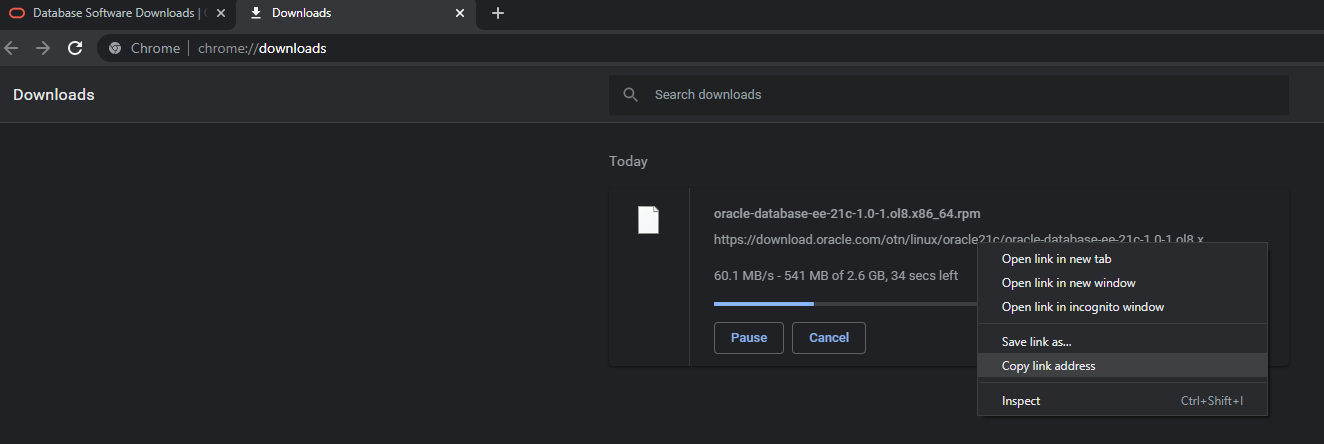
Go to the virtual machine / ssh client and write "wget" and paste below the link (AuthParam stripped from the example). This is recommended to do in the root user home. If not, remember the path, you will need it later.
wget https://download.oracle.com/otn/linux/oracle19c/190000/oracle-database-ee-19c-1.0-1.x86_64.rpm?AuthParam=XXXXXXXXXXXXXXXXXXXXXWait for the download to be completed

The created file will have a long name with characters that could create issues. Change the name:

mv 'oracle-database-ee-21c-1.0-1.ol8.x86_64.rpm?AuthParam=XXXXXXXXXXXXXXXXXXXXXXXXXXXXX' oracle-database-ee-21c-1.0-1.ol8.x86_64.rpmNow the name is correct:

Now we can install the database software (this needs to be executed as root. If the file is not at the root user home, provide full path to the file).

yum localinstall oracle-database-ee-21c-1.0-1.ol8.x86_64.rpm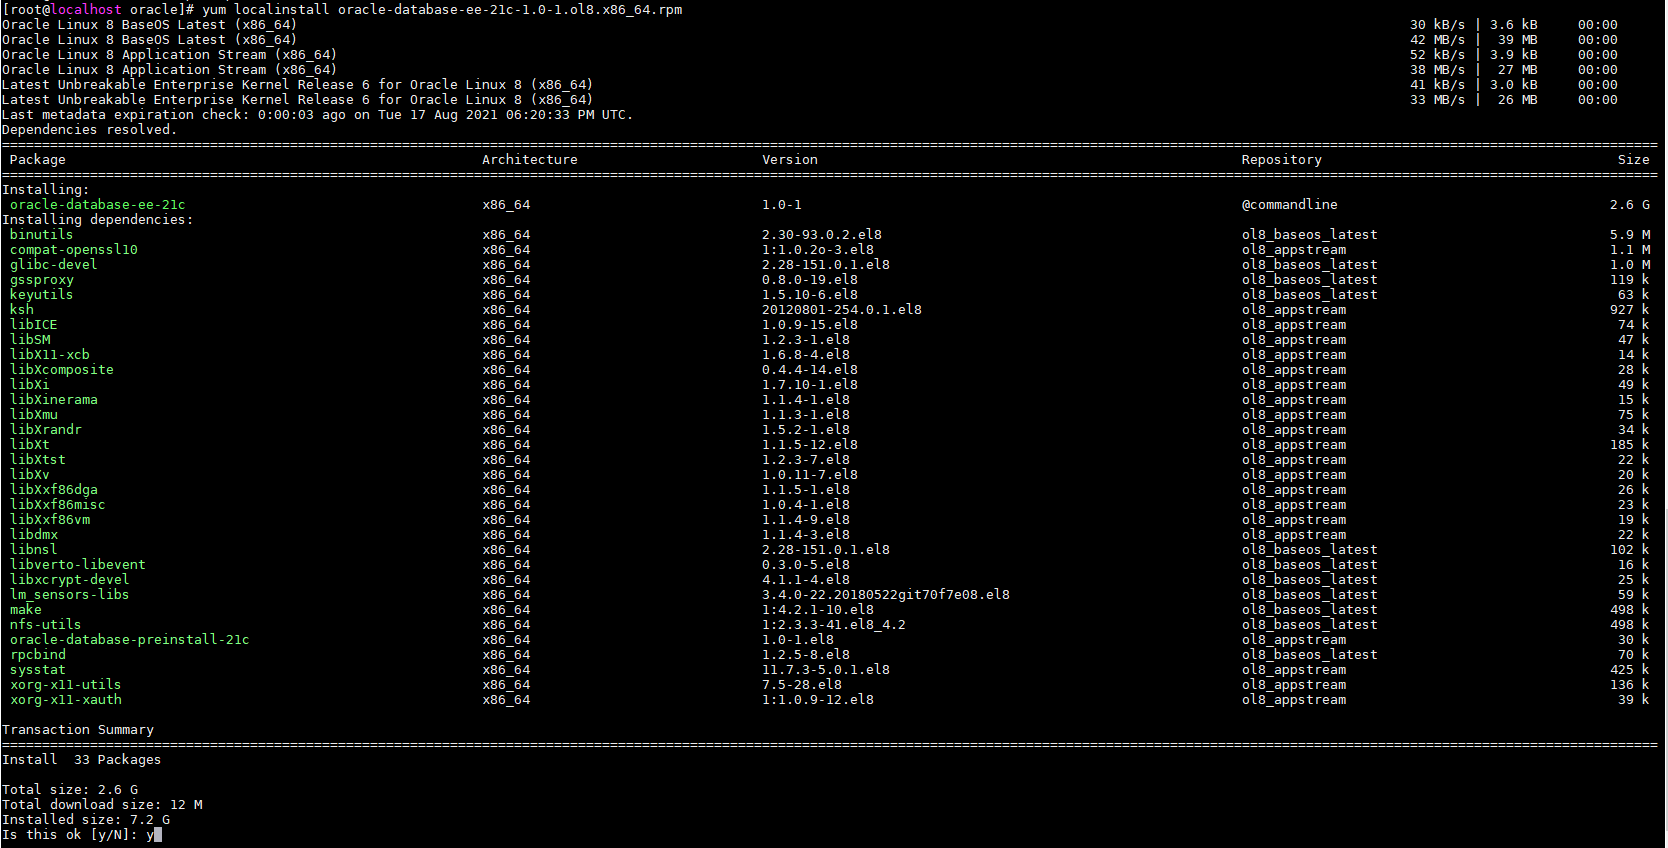
Press "y" and wait for the installation to complete.
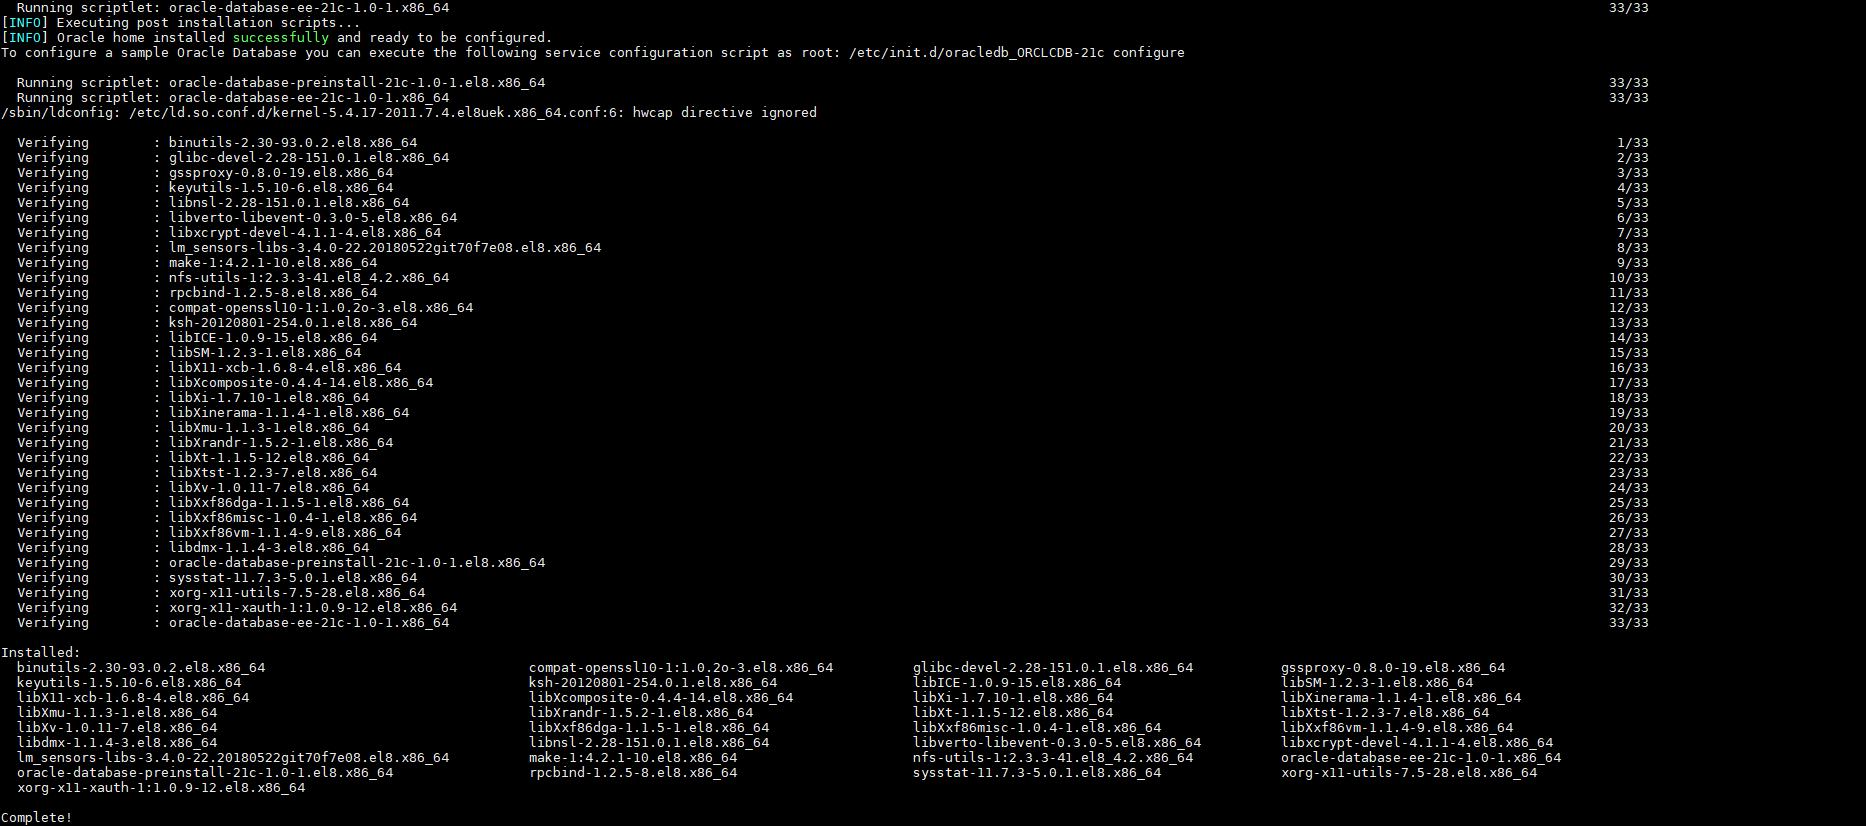
Once this installation is completed, a script is created to install the database. We can edit that script:
nano /etc/init.d/oracledb_ORCLCDB-19c In this case, we want to call the new database "DBONE" and the PDB "DBONEPDB", so we edit the "ORACLE_SID" and the "PDB_NAME" variables.
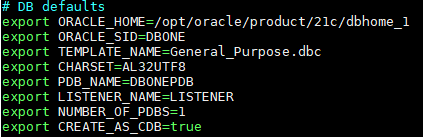
For the installation, the rpm takes the values from the following DBC:
/opt/oracle/product/21c/dbhome_1/assistants/dbca/templates/General_Purpose.dbc
As we have changed the ORACLE_SID, we need to change the change the name of the following file. Change "ORCLCDB" to the ORACLE_SID you have set (if changed).
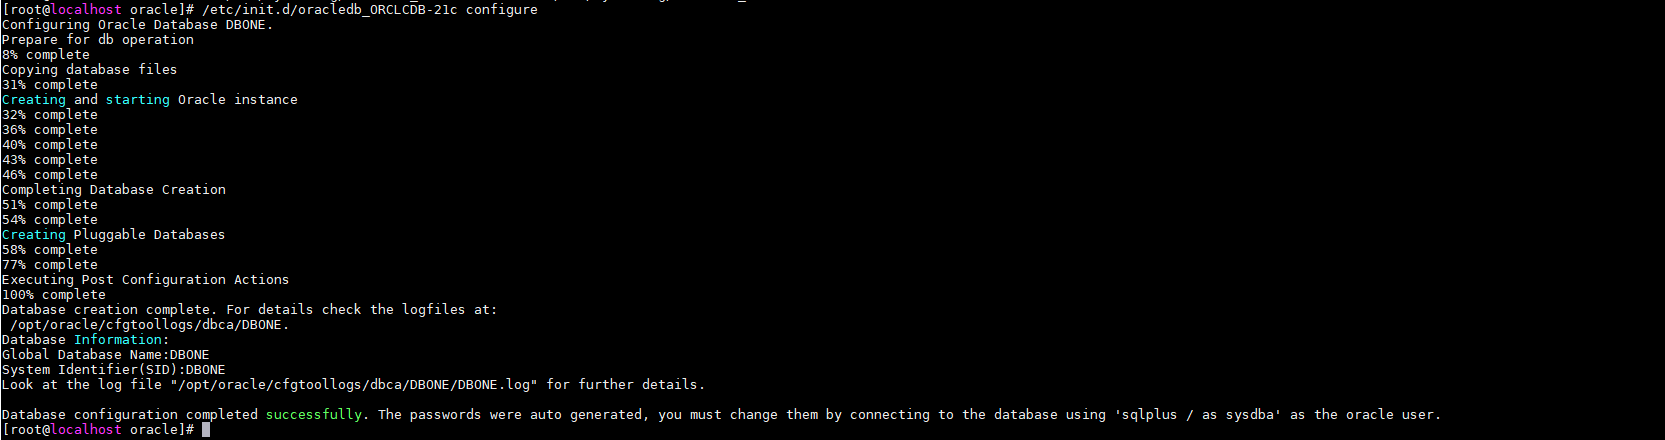
mv /etc/sysconfig/oracledb_ORCLCDB-21c.conf /etc/sysconfig/oracledb_DBONE-21c.confNow, we can install the new database launching the creation command:
/etc/init.d/oracledb_ORCLCDB-21c configure
Now you can change to the "oracle" user, and load the environment variables. Database is available.
export ORACLE_SID=DBONE
export ORACLE_HOME=/opt/oracle/product/21c/dbhome_1
export PATH=$PATH:$ORACLE_HOME/bin
sqlplus "/ as sysdba"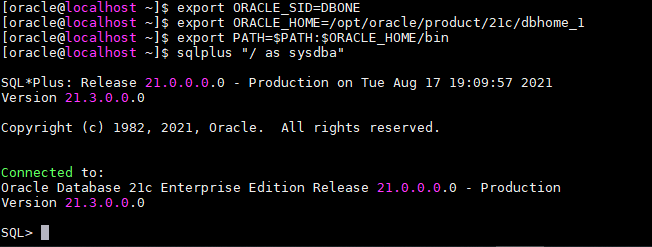
Alertlog is located at:
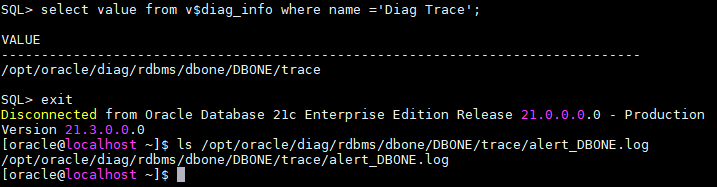
/opt/oracle/diag/rdbms/dbone/DBONE/trace/alert_DBONE.logIn case you want to reduce the virtual machine memory, you should reduce the SGA target to be able to start the database with less memory.

SQL> create pfile='initDBONE.ora' from spfile;
File created.
SQL> ALTER SYSTEM SET SGA_TARGET=1G scope=SPFILE;
System altered.
Change the password of the SYS and SYSTEM users to oracle:
ALTER USER SYSTEM IDENTIFIED BY "oracle";
ALTER USER SYS IDENTIFIED BY "oracle";
Virtual machine will be stopped to be exported and cloned, so there is always a copy with the database just being installed.
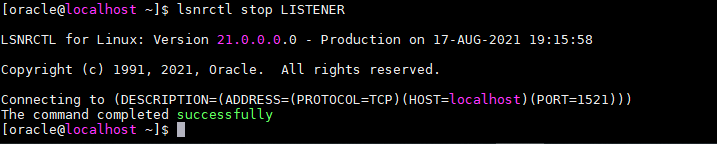
Database and listener is stopped.
Following lines are added to the bash_profile file, so once a login to the user is done, the Oracle database environment variables are loaded, along 3 aliases for a quick access to SQL*Plus, SQLcl and the alertlog.
export ORACLE_SID=DBONE
export ORACLE_HOME=/opt/oracle/product/21c/dbhome_1
export PATH=$PATH:$ORACLE_HOME/bin
alias sas='sqlplus "/ as sysdba"'
alias sq='sql "/ as sysdba"'
alias tailo='tail -100f /opt/oracle/diag/rdbms/dbone/DBONE/trace/alert_DBONE.log'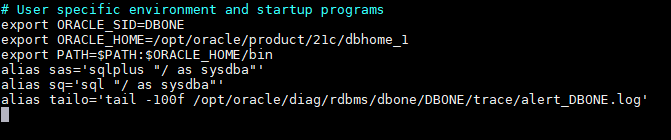
Because this is a lab, you can provide full sudoer privileges to the oracle user if you want: At the /etc/sudoers file, under the section ## Allow root to run any commands anywhere paste:
oracle ALL=(ALL) NOPASSWD:ALL
If you want to give it a personal touch, you can edit /etc/motd with a message that will appear you login.
With this, the lab is completed. Shutdown the machine, export it or clone it to have a clean copy of the database and then do whatever tests you need.